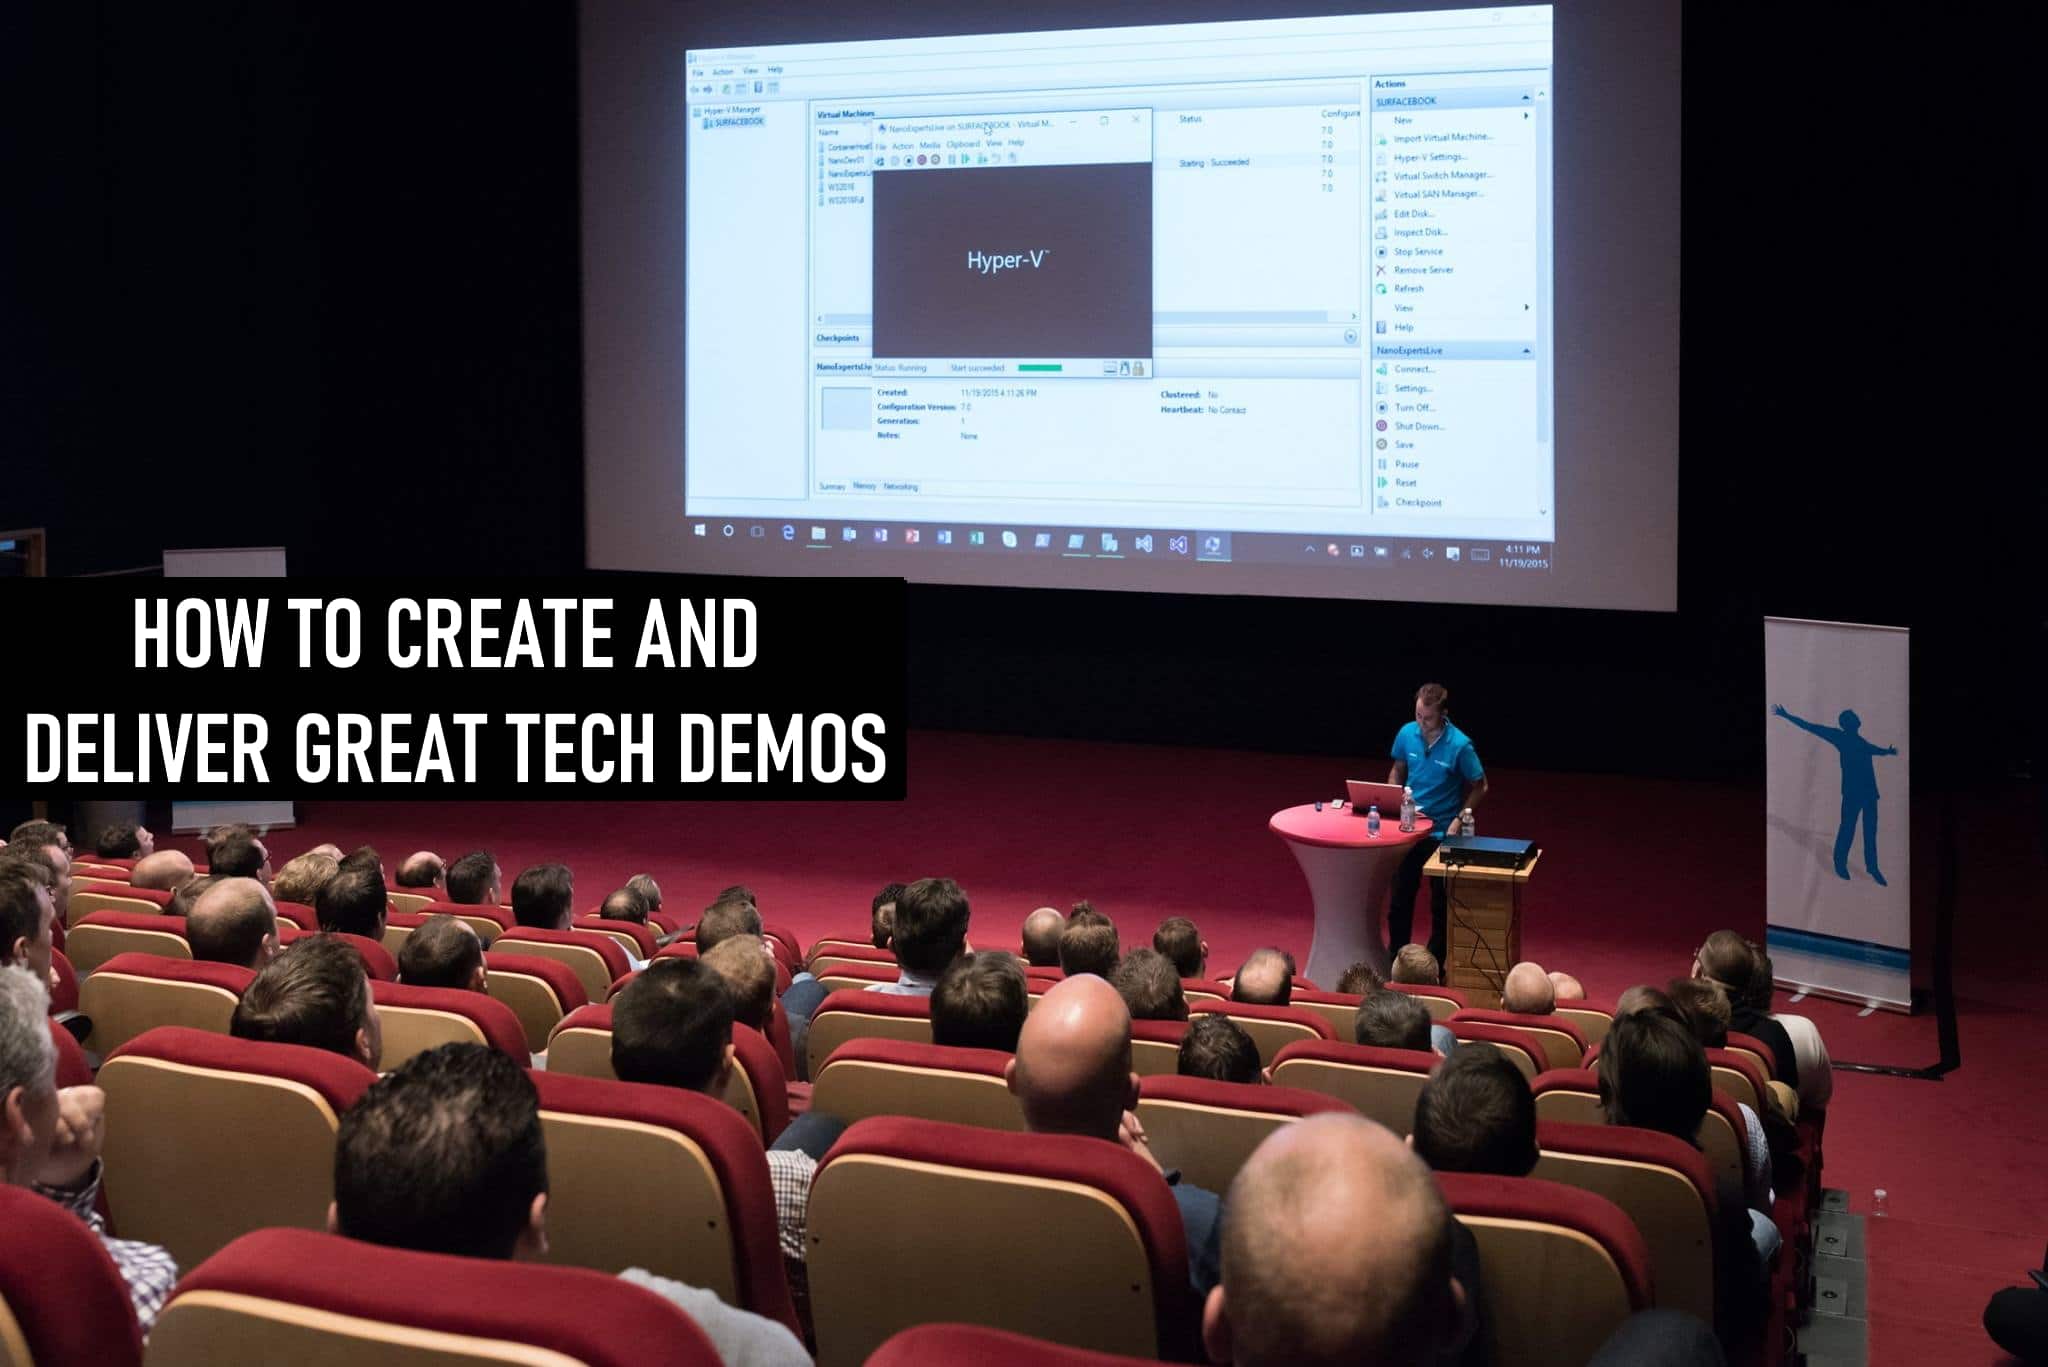
I didn’t keep track of the exact number, but I did many presentations at different conferences around the world. Since I am doing a lot of tech presentations and demos, I am always looking at how I can improve and get better. I start to realize that there are a lot of things you need to consider when delivering tech demos during presentations, to make it better for the audience. I started to work on my demos a lot, and I realized that these things also work when you are recording demo videos or screencasts. That is why I came up with the idea to write this blog post with tips and tricks on how you can create great tech demos and presentations.
Create and tell a story, make sure people can see the result 🎬
People have a short attention span, so if you are switching to your tech demo, and in the first couple of seconds, your audience is already lost because they cannot read what is on the screen or they have no context at all, you lost them for good. You need to make sure you create and tell a story, and you show them how to solve a specific challenge. A tech demo is not just good if you can show how you address a particular challenge, but people need to understand it. For example, I have seen many tech demos, that tell you here is the problem, here is the setting to solve it, and done. They didn’t complete the full demo and showed that it is now working. Yes, of course, sometimes showing the setting is enough, but a lot of times you want to show here is the challenge, it is not working now, I do this, and now you can see it is working. This gives attendees a way better experience and understanding of your demo.
Create video recordings of your demos 📽
Live demos are great, but sometimes it is just not possible, or the experience of the attendees isn’t great. For example, if you start a task that takes 5-10 minutes to complete, you don’t want to wait for it to complete as your time is limited in a session. Which leaves you with three options. The first option, you prepare an already finished scenario to jump on like they do in cooking shows. Secondly, you show something else and let the task complete in the background, and jump back to it once it’s done. And the third one, you cut a video before and use your video editing skills to make the waiting time shorter. While option one and two, often work, I realized that jumping away from a specific scenario or using another object which already completed, may confuse people, they lose context and doesn’t give them a great experience. Recording a video can help with that. For example, one of my demos is replicating a virtual machine named VM1, and these can take 30mins to even a couple of hours. I could have prepared a VM2, which would have been already replicated and move on with that one. However, during a lot of presentations, I realized it makes it easier to follow for people if I can use the exact same VM name, during the whole demo.
Creating videos also has an advantage when you run into issues. This can be due to lousy conference Wi-Fi or something just broke out of your control. Even if you plan to do the demo live, it is always great to have a backup, especially if you are doing a demo-heavy presentation, where things build on top of each other.
Resolution and Scaling 💻
You can have the most fabulous demo of all time, but if people can’t see it, it doesn’t matter at all. Rule number one, if you have to ask if people can read it, people can’t read it. So make sure that you are 100% sure that people can see what is going on. My recommendation is, please set your screen resolution to whatever the projector supports. Most of the time, this will be Full HD 1080p (1920×1080) resolution.
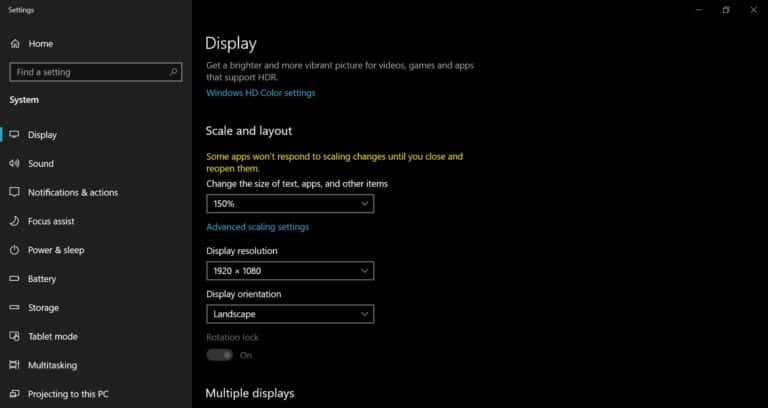
Presentation Demo Screen Resolution and Scaling
Early in the days, we didn’t have scaling in Windows, so people were using lower resolutions to make everything appear bigger. Guess what, Windows 10 supports scaling, so I usually use Full HD (1920×1080) and 150% scaling, this makes an excellent size to see what is going on the screen but also makes the picture sharp and not blurry. Most of the applications can handle it, and most of the web portals also work the ways they should. That said, I know that not all applications and scenario scale very well. Depending on what you are showing, you need to decide how you want to present it.
Use ZoomIT, and use it wisely 🔎
One of the most excellent tools for presentations is Sysinternals ZoomIT by Mark Russinovich (not PowerShell this time, sorry Jeffrey 😉). ZoomIT is a screen zoom and annotation tool for technical presentations, and as the name says, it lets you zoom. This helps you not just to make things more readable, but also to highlight a specific part of the screen, to show people where they need to focus on.
ZoomIt is a screen zoom and annotation tool for technical presentations that include application demonstrations. ZoomIt runs unobtrusively in the tray and activates with customizable hotkeys to zoom in on an area of the screen, move around while zoomed, and draw on the zoomed image. I wrote ZoomIt to fit my specific needs and use it in all my presentations.
ZoomIt works on all versions of Windows and you can use pen input for ZoomIt drawing on tablet PCs.
ZoomIt
While ZoomIT is excellent, you need to know how to use it right. Place the mouse where you want to zoom and then zoom in, don’t move the mouse too much after you have zoomed in, you don’t want people to become sick 😵. As you can see, ZoomIT also allows you to do screen annotations, to mark specific things on the screen. Again, use this feature wisely before you start painting on the screen. The great thing about it, you can also use a pen, like the Surface Pen, to draw on your screen.
Font Size and Editor Light Theme 🔠
Okay, one of the many problems I see with many tech presentations is happening when people show code. Coming back to what I said earlier, if you have to ask the audience if they can read it, they can’t read it, so please use a font size they can easily read. Even in Notepad and Terminal, you can easily zoom these days with CTRL + Mousewheel.
Notepad Zoom
If you are showing code in an editor or even in a web portal, a dark theme makes you look cool. However, it is horrible to read. So please help the audience and use a light theme in your editor like Visual Studio Code or in the Azure portal.
Light Theme Editor
By the way, I am not saying that you only should use light PowerPoint slides. Dark PowerPoint slides can be a very powerful tool if they are used right. However, for editors, it is just very simple and way better to view if you are using a light theme. One of my favorite Visual Studio Code themes to present is the PowerShell ISE theme. This theme gives you a simple and light theme, with great color options for syntax highlighting.
Clean up 🧹
You want to make sure that people in your presentation and during your demonstration are focusing on the right thing and don’t get distracted by any clutter. So before your presentation, make sure you clean up:
Close all unnecessary applications
Especially any messengers like Microsoft Teams or Slack, you don’t want to receive any notifications at all during your presentation (Except you are showing Microsoft Teams demos 😉). By shutting down all these applications, you also make sure that you have enough resources like Memory available.
Turn off notifications
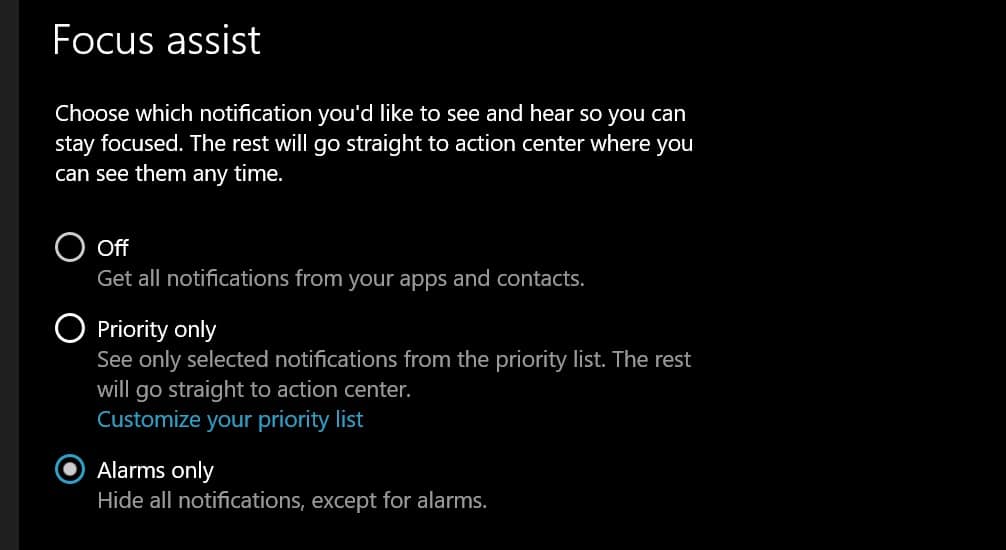
Focus assist
In Windows 10, you have a feature called Focus assist, and this allows you to pause all notifications on your PC.
Hide all icons from your desktop
Hide Desktop Icons
Yes, there is an option for that! Right-click on your desktop -> View -> Show Desktop Icons.
Browser
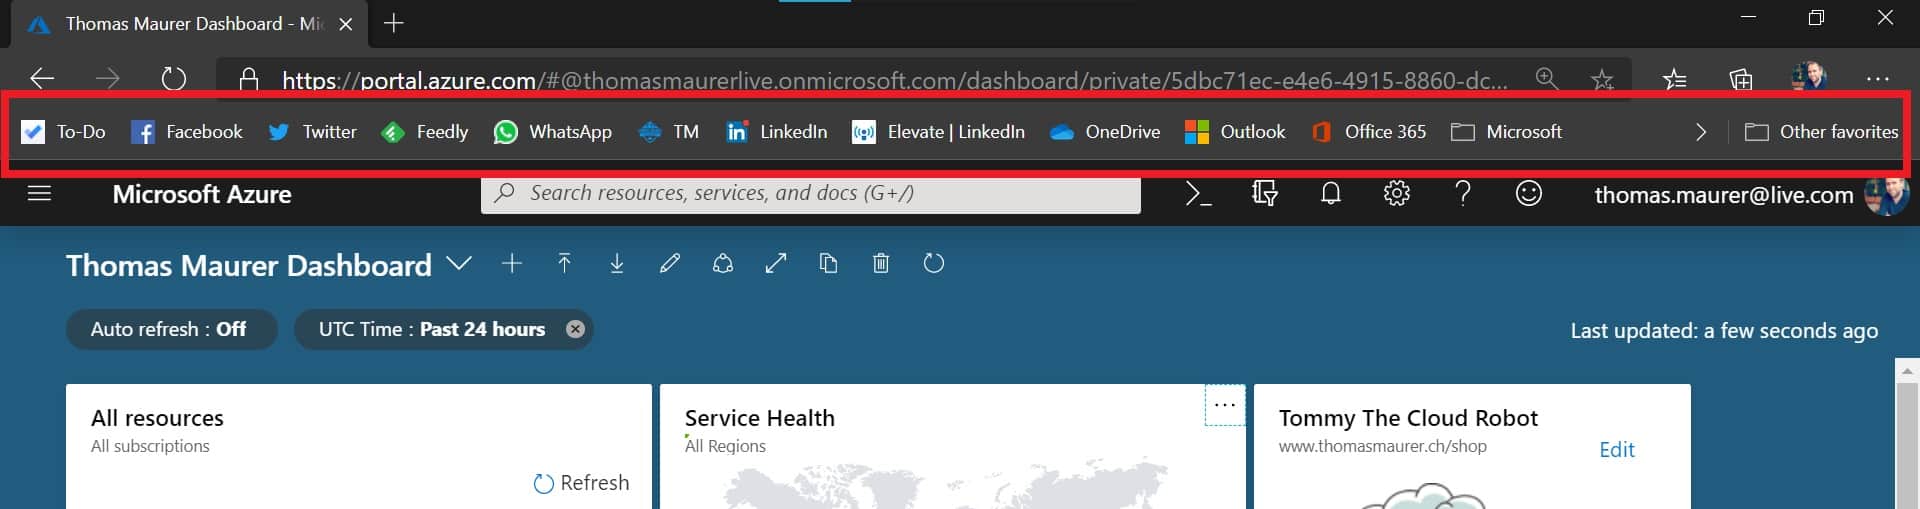
Browser
If you are doing a demo using a browser, make sure your browser is also cleaned up, hide your Favorites Bar, and any additional browser extensions, which might take the focus away.
Taskbar
Keep your taskbar clean, you don’t want people to focus on all the icons there and the program you have installed. You want to make sure there is as little distraction as possible.
Hide System Icons and Time
Windows 10 Turn system icons off
This might not always be needed, but if you want to make it cleaner and especially during video recordings, you can also hide the system icons and time. If you are opening the settings app and search for system icons, you can go and hide them.
Full screen
This is a simple one, but if you do a presentation, you don’t want your windows overlapping each other and be confusing, so run your applications in full screen. Exception for this is when you want to show two things in comparison to each other.
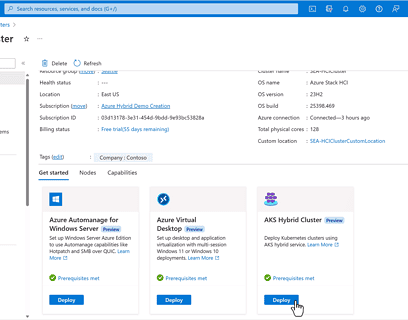
Use the Azure Mask browser extension for your Azure demos
If you are doing demos in the Microsoft Azure Portal, you want to have a look at the Azure Mask browser extension. This is a browser extension that will mask GUIDs (such as Subscription IDs), email addresses, keys, and connection strings with a blur. The extension intends to make it easier to do screen recordings without revealing sensitive personal account information that may show up on the screen. It will only run and apply against Azure portal URLs. It’s available in Chrome, Firefox, and also works with the new Microsoft Edge (Chromium).
Virtual Desktops to switch to your tech demo 💻
I am a huge fan of the Virtual Desktop feature in Windows 10. This basically gives you unlimited desktops on your Windows 10 PC, which is excellent for productivity. But I am also using Virtual Desktops during presentations, for example, for switching between the PowerPoint deck to a demo. One the first desktop, I keep my PowerPoint presentation in full screen open, and with CONTROL + WINDOWS + ARROW RIGHT/LEFT, I can switch to other desktops where I, for example, already have my demos ready. You can create new Virtual Desktops by pressing WINDOWS + TAB. This makes switching between PowerPoint and demonstrations, less messy.
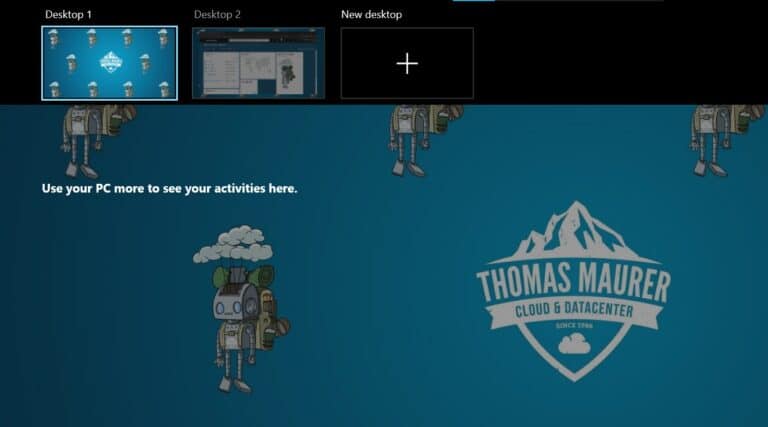
Virtual Desktop
If you are presenting somewhere, where you can plug in two devices, you can also use the display switch to switch from your presentation machine to your secondary demo machine, which will have a similar effect. However, a lot of smaller events, don’t have that setup. By using the Virtual Desktops feature, you can clean up the process of switching to different technical demonstrations.
Change Desktop Backgrounds and console colors 🎨
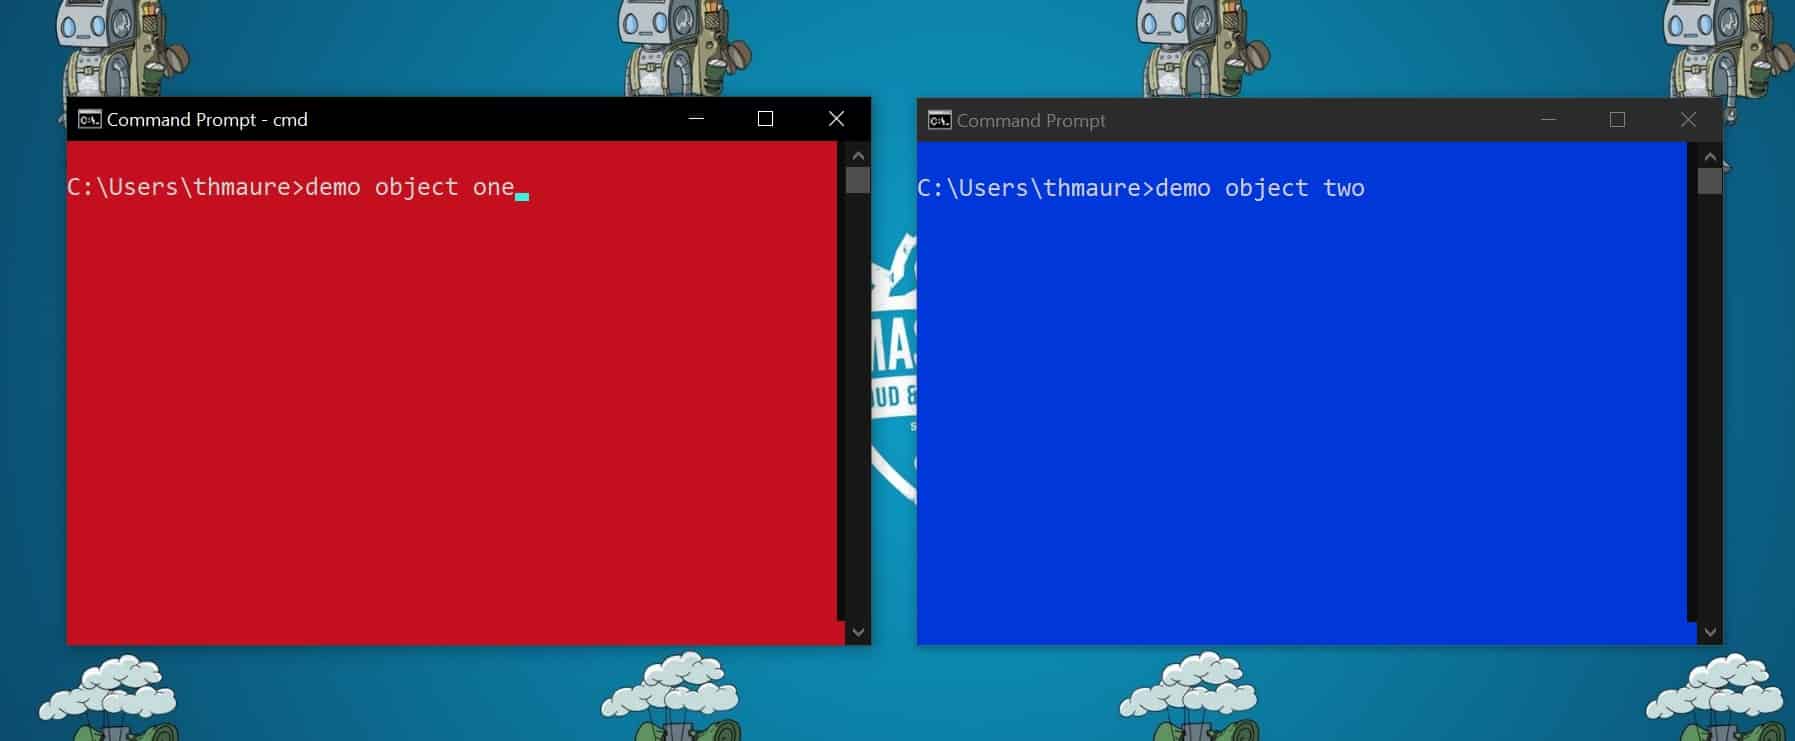
Use different Colors
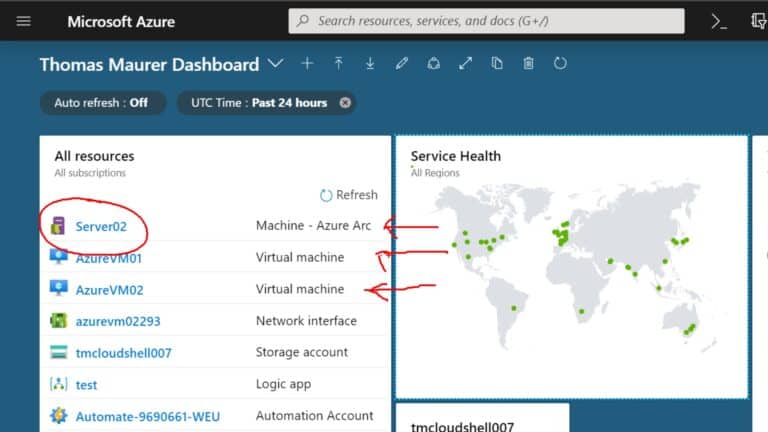
If you do a presentation with multiple systems or consoles, you want to make sure people can follow on which system you are working. For example, if you have two different systems deployed to servers, you want to make sure people can easily identify which server runs which application. For example, you can change the color of the terminal or desktop background of VM1 to blue and the one of VM2 to red. If you are working with Windows, you might also use Sysinternals BgInfo, to write the name of the system on the desktop wallpaper.
The mighty Mouse pointer 🖱
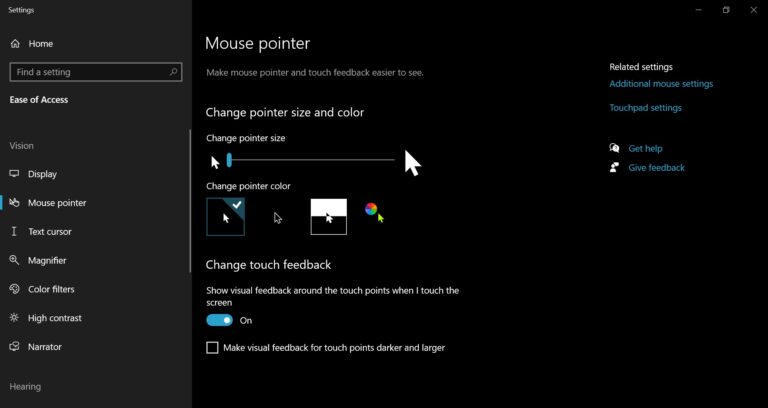
Mouse Pointer
If you want to explain something and point to something on the screen, the mouse cursor is a natural option. However, you can also do a lot of damage by using it wrong. First, make sure people can see the mouse pointer. In Windows 10, you can change the size and color of the mouse pointer, so people can easily identify it on the screen. Next, don’t move it fast and don’t go crazy. Move the mouse cursor slow and don’t try to circle things or jump around the screen with it; people will go nuts.
In many cases, it is better to use a tool like ZoomIT, to annotate on the screen.
Laser pointer in PowerPoint 👉
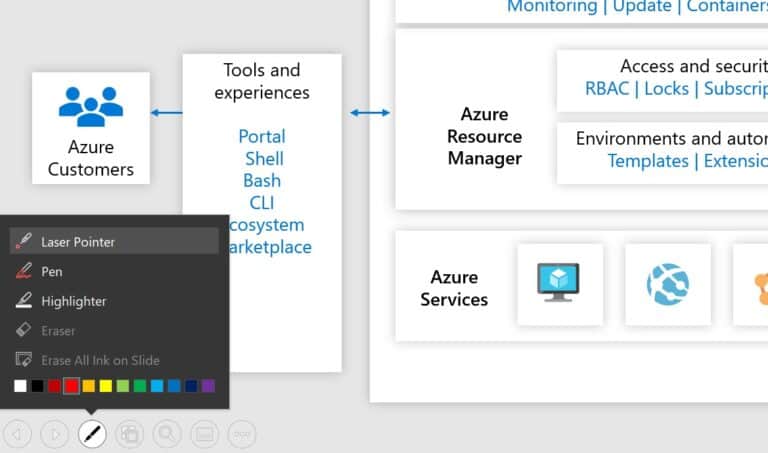
PowerPoint Laser Pointer
Many people use PowerPoint for their presentations. However, not many people know that PowerPoint can be an excellent presentation tool. It comes with a lot of features people don’t even know about, and with many of them, it is with any tool in the world; if you are using it wrong, it will not help you at all. One of the tools I want to highlight is the laser point feature in PowerPoint. If you are a presenter, you might have these remote presenters with a laser pointer on it, where you can point on a wall or projected screen. However, in many cases, that is not a good idea. Often the laser pointer is too small for people to see it or in some locations, you have multiple projectors, and you can’t point at all of them at once. PowerPoint can help you with that. You can use a simple on-screen laser pointer to highlight parts of your slides. This comes handy when you show a large technical diagram, which we often try to avoid, but in some cases, it is necessary.
Get prepared 🔧
To deliver great demos, you will need to practice them. First of all, you need to make sure that they actually work, but also that the timing is right. No one wants to wait and watch at the screen for five minutes until something has completed. I usually run through the demo at least twice before my presentations, to make sure that the demo also works multiple times. I usually also run through it a couple of minutes or hours before I go on stage. Especially with demos running in the cloud, I want to make sure that they are still working. It is not just about cloud technologies that can change fast; for example, I also saw software and container images expire.
What if something goes wrong? 👻
Even if you did prepare like crazy, there can always something go wrong. Don’t worry, people understand that things can break. As long as you are prepared, handle it the right way and have a backup plan, you will be fine. If something doesn’t work, you can try to troubleshoot it quickly. But don’t spend too much time on it and move on to the next one, because the audience doesn’t want to see you troubleshooting for minutes. In some cases, the audience can’t even see or doesn’t even realize that the demo didn’t work. In that case, don’t point it out, just move on if the demo is not essential to your presentation.
Conclusion to create Tech Demos and Presentations 😎
I hope you enjoyed my tips on how you can create great technical (tech) demonstrations (demos) and presentations. Let me know what your favorite tips and tricks for great tech demos are!
Tags: code, create, Demo, Demonstrations, Demos, Editor, PowerPoint, PowerShell, Presentation, Presenter Mode, Recording, Resolution, Sclaing, Speaking, Tech, Tech Demo, Technical, Technical Demonstrations, VS Code, Windows, Windows 10, ZoomIT Last modified: January 13, 2020


Thanks bro!
you are welcome :)
Excellent summary, plenty of things I have yet to try out and even consider!
Big thank YOU!
Thank you for some excellent tips. I never thought about dark mode, good one!
Thanks, You’re welcome :)
Thanks for the blog post. I tried to find the Azure Mask browser Chrome Extension, but it wasn’t in the Chrome Web Store. Wonder why it was pulled?
Azure Mask – ⚠ This is currently not available in the Chrome Web Store because of trademark infringement on the name. It has been updated with a name change (az-mask) to comply but has been in a status of “Pending Review” since April 2019. If you know of a way to get this resolved please hit me up ⚠.
Any other extension or tool that can be used?
Bests Regards,
Kasam
Great blog post Thomas
Thank you
You’re welcome :)