In this blog post, we will have a quick look at the basics of Azure Governance and how you can use Locks in Azure to govern your environment and protect resources from accidental deletion or changes. Cloud Computing is excellent, and you can deploy and delete services in seconds and go full speed. However, with that, there are also many challenges that are coming your way. Think about control over cost, security, or compliance. You don’t want everyone to be able to deploy a large Mv2-series virtual machine to test their application, and you might also not want people deploying services all over the world using one of the 55 Azure regions worldwide. The way to prevent things like this is called technical governance. However, it can be implemented in different ways.
Technical Governance
The traditional approach was that you set a team or a person in front of the cloud, which can be called a cloud custodian or cloud broker team. And this team then decided on which services are going to get deployed and how. Now with that approach, people and processes become the limiting factor if you look at speed and agility.
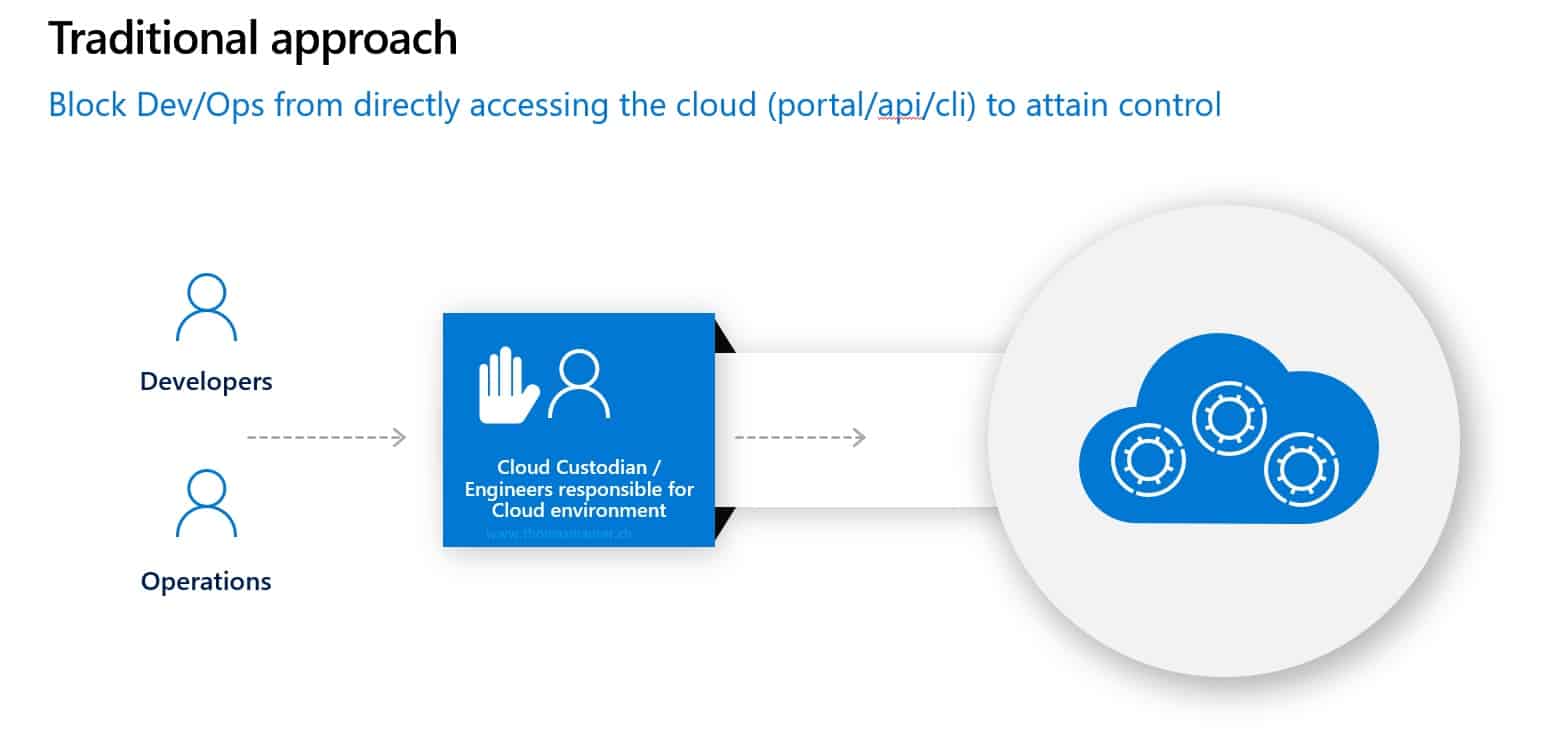
Traditional approach
To take advantage of speed and agility of the cloud, you want to give developers, operations people, or even teams and divisions in your company, but stay in control of the cloud environment. With Azure, we provide you with exactly these management tools, to make sure that you can keep control, but also keep the speed and agility the cloud promises.
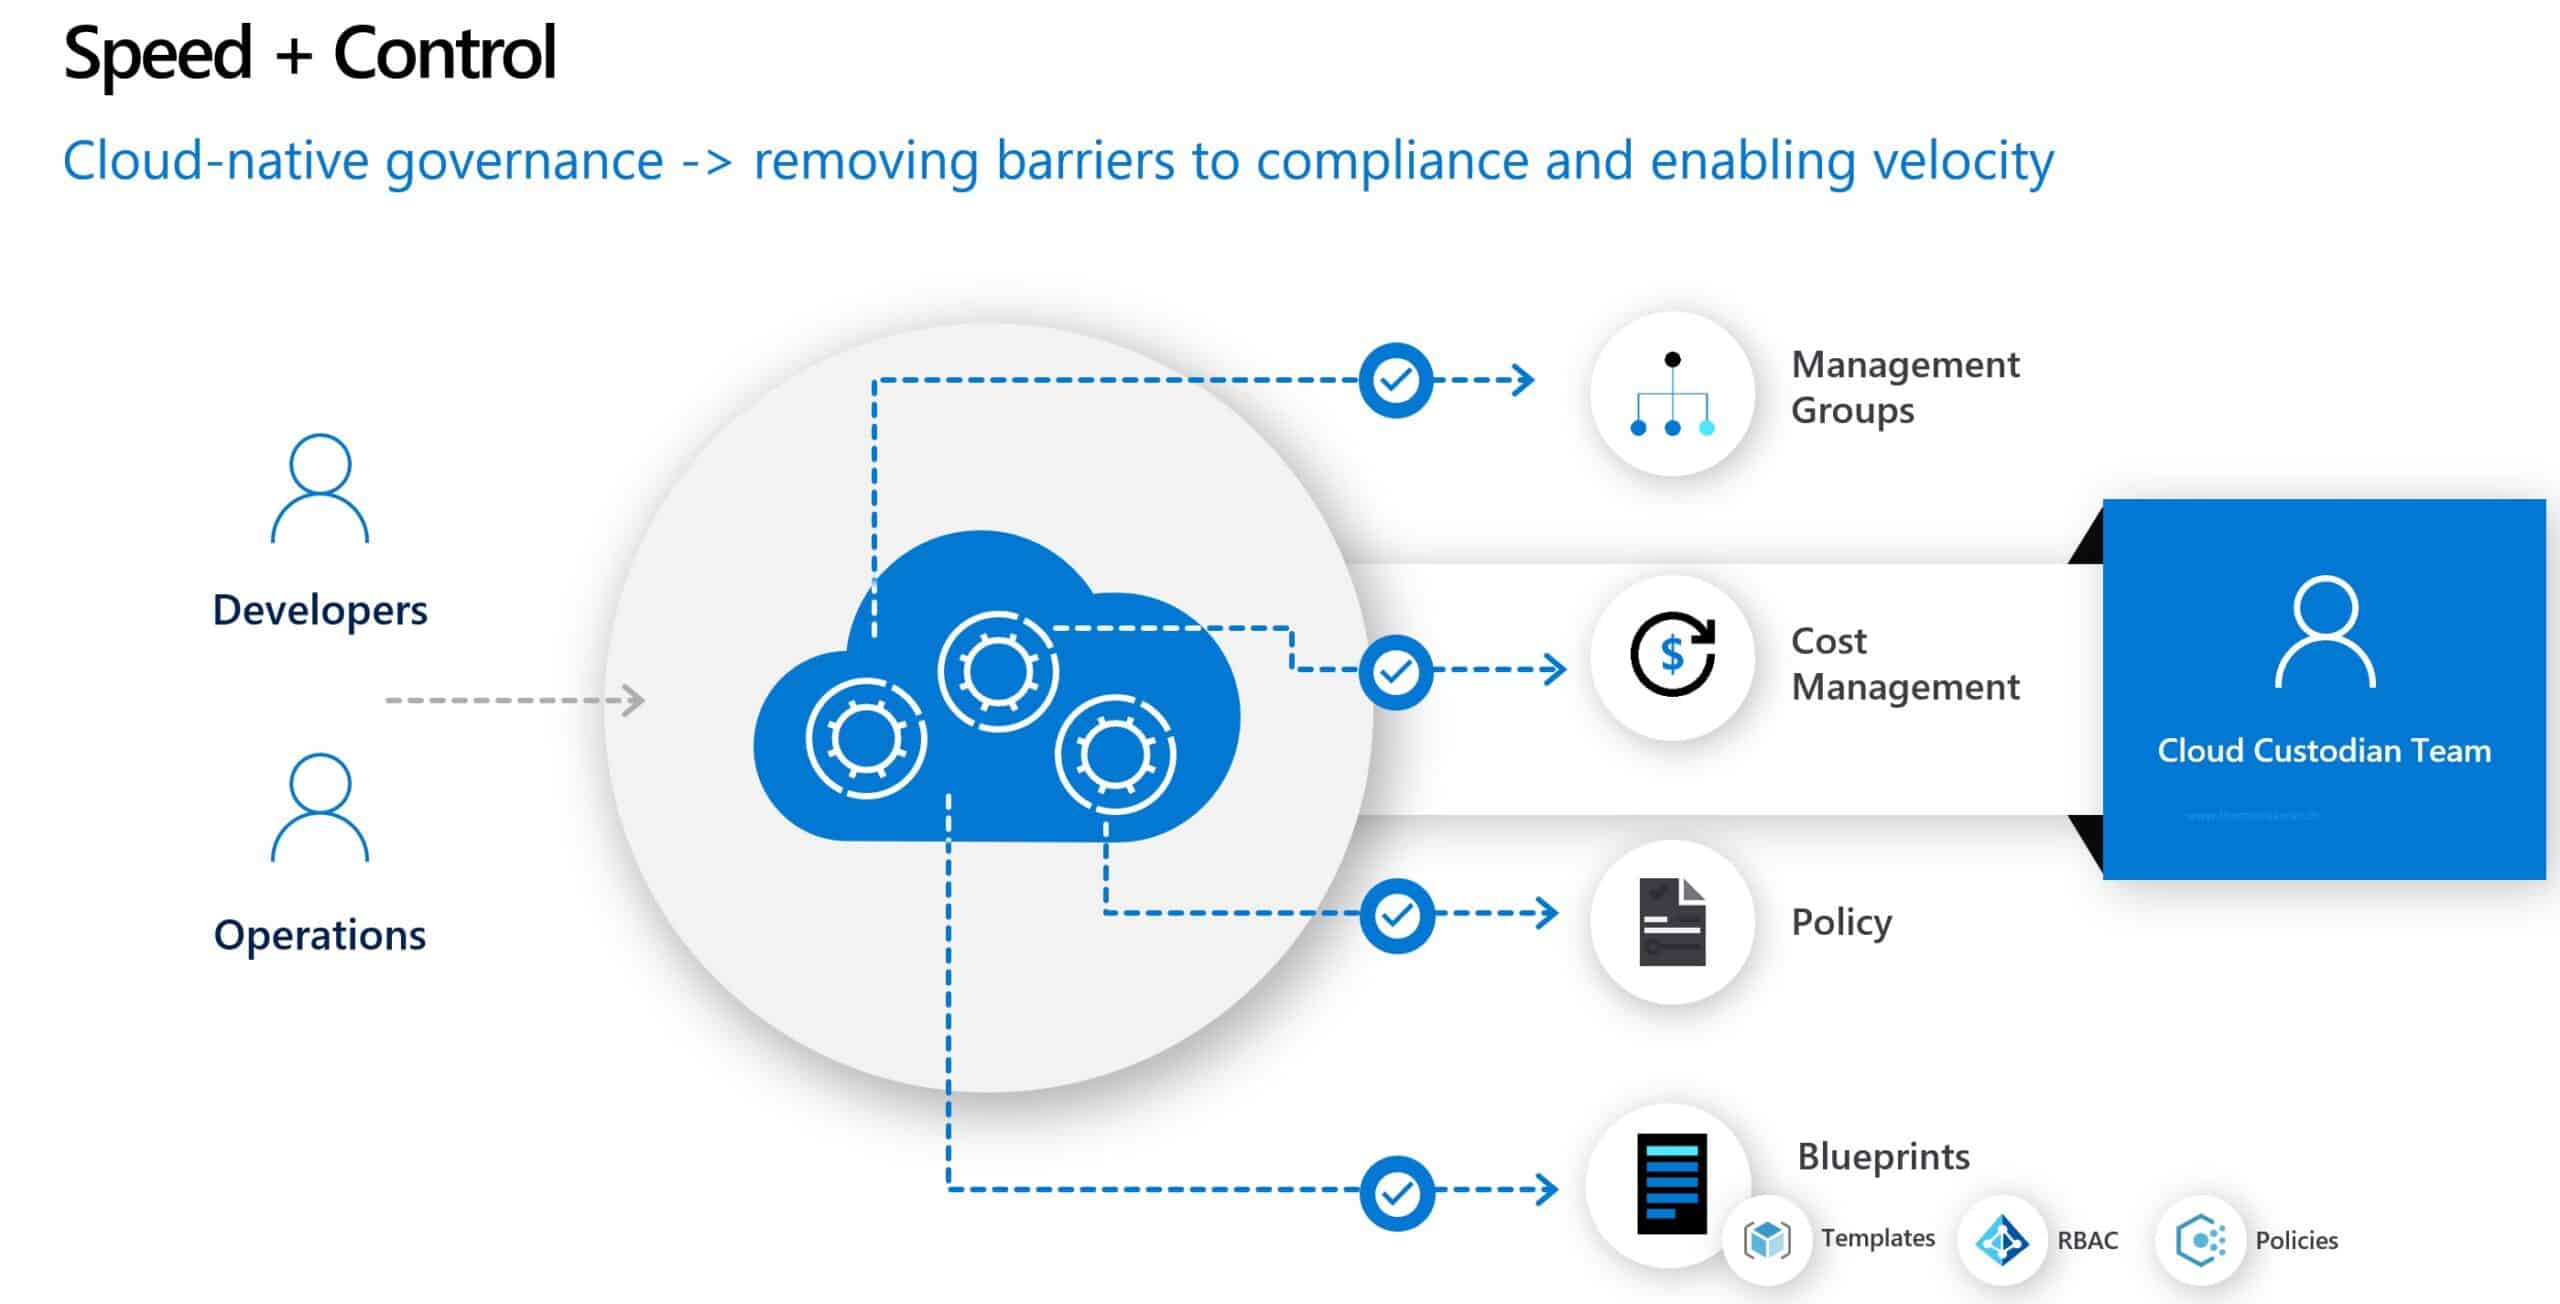
Cloud-Native Governance
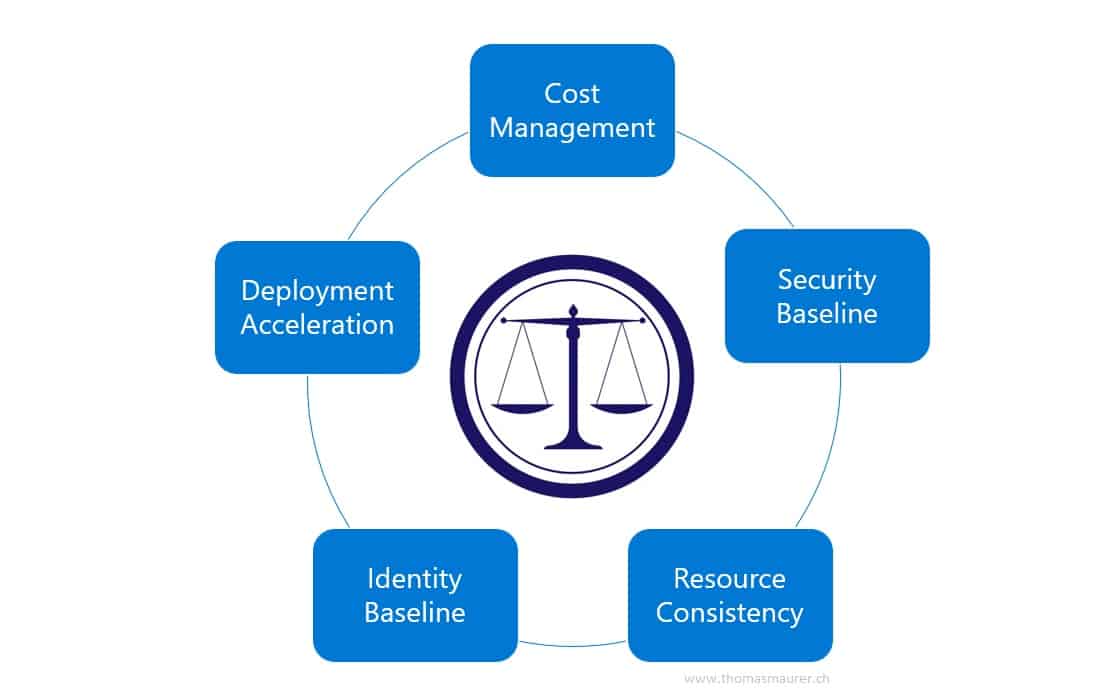
Azure Resource Manager offers a couple of different tools for Azure Governance like Management Groups, Azure Policies, Azure Blueprints, Cost Management, and many more. In this quick blog, we will have a look at one of the basics called Azure Locks, which are part of the foundation. If you need to get started with Azure and especially Azure Governance, I created a blog post with some useful links.
Lock resources to prevent unexpected changes and deletion of Azure resources
We all have been there, we wanted to clean up some resources quickly or quickly run a script which changes a couple of settings, and we realized we just made a huge mistake. That is why it is great to have some locks in place to prevent unexpected changes and deletion to happen. With locks in Azure, you can lock a subscription, resource group, or resource to prevent other users in your organization from accidentally deleting or modifying critical resources.
Lock Types
You can set the lock level to CanNotDelete or ReadOnly. In the portal, the locks are called Delete and Read-only, respectively.
- CanNotDelete means authorized users can still read and modify a resource, but they can’t delete the resource.
- ReadOnly means authorized users can read a resource, but they can’t delete or update the resource. Applying this lock is similar to restricting all authorized users to the permissions granted by the Reader role.
You can find more information about the lock types here.
Permissions to create or delete locks
You will need to have access to Microsoft.Authorization/* or Microsoft.Authorization/locks/* to create or delete locks. By default, only the build-in roles Owner and User Access Administrator have these permissions.
Locks apply restrictions across all users and roles and are be applied to different scopes. These scopes are subscription, resource groups, or resources, and all resources within that scope inherit the same lock. If you have multiple locks in place, the most restrictive lock in the inheritance is applied. If you want to know more about permissions to set locks, you can find more information here.
How to lock a resource group
As an example of how locks can work, I wanted to show you how you can lock a resource group. You can create and assign locks using different methods and tools like the Azure Portal, Azure CLI, Azure PowerShell, Azure Resource Manager templates, or the REST API.
In the portal open up your resource group, in the settings blade, you click on Locks.
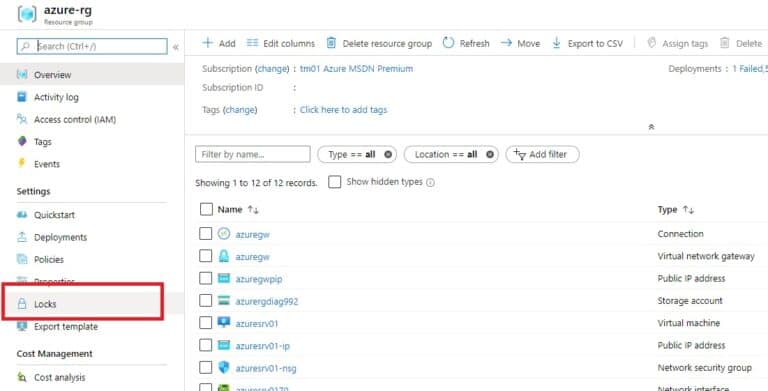
Azure Locks
After that, you can click on Add and configure the lock.
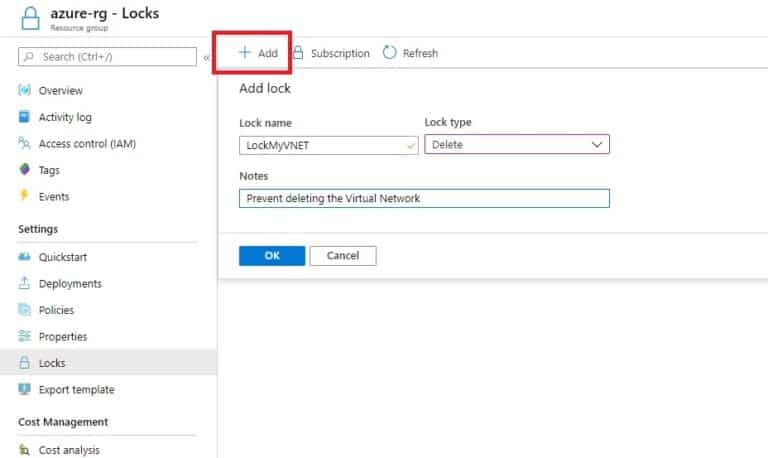
Add a lock to an Azure Resource Group
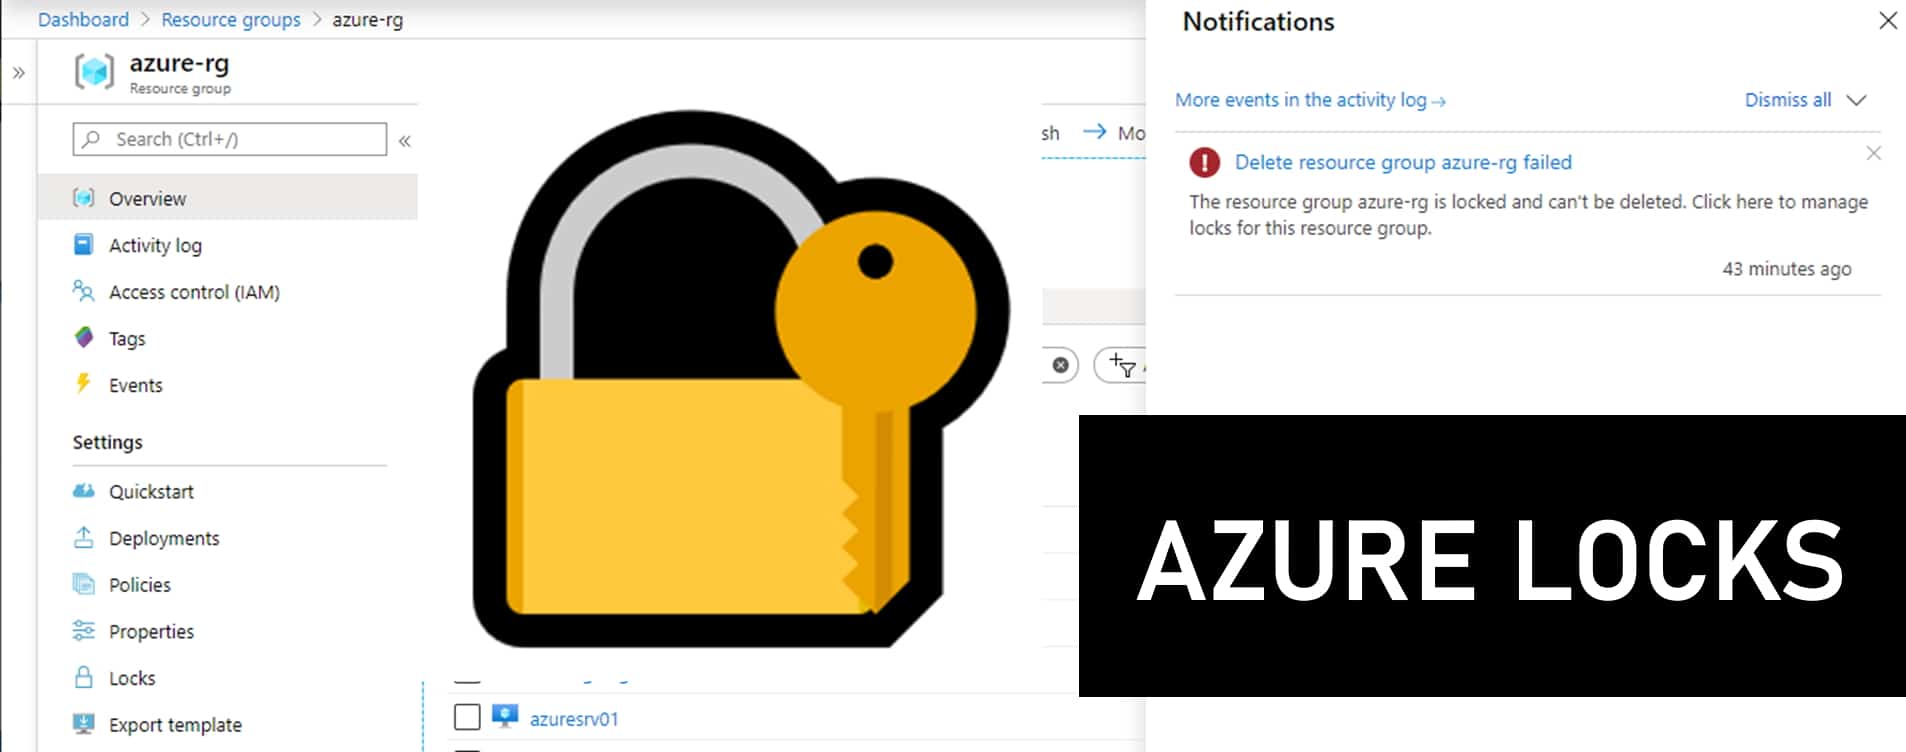
Now, if someone tries to delete this resource group, he will get the following error.
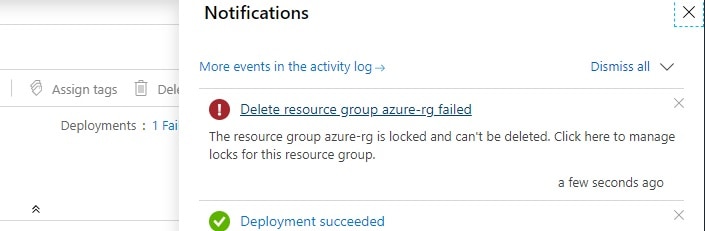
Azure Resource Group is locked and can’t be deleted
You can also set the lock using PowerShell:
New-AzResourceLock -LockName LockMyVNET -LockLevel CanNotDelete -ResourceGroupName azure-rg
Or the Azure CLI:
az lock create --name LockMyVNET --lock-type CanNotDelete --resource-group azure-rg
If you want to learn more about Azure Governance and especially Azure Locks, check out the following link to Microsoft Docs:
- Microsoft Docs Lock resources to prevent unexpected changes
- Microsoft Docs Azure governance documentation
I hope this gives you an understanding of locks in Azure if you have any questions, feel free to leave a comment.
Tags: ARM, Azure, Azure Locks, Azure Resource, Azure Resources, Changes, Cloud Management, Deletion, Governance, Lock, Locks, Management, Microsoft, Protect, Techincal Last modified: March 15, 2020


Excellent blog post, very useful both in content and providing links back to the MS Documentation.
I hope you don’t mind but I spotted some minor typos I thought I’d flag for you:
“These [copes] are subscription”
“I hope this gives you an understanding of [looks] in Azure“
“…and you might also [don’t]* want people deploying services all over the”
*replace with ‘not’.
“…know more about permissions to set [looks], you can find more information here.”
Thanks, Lewis, fixed it :)
I will repeat my suggestion to MS UX team: if lock is enabled – please just grey out delete button instead of allowing to delete and sending “failed to delete” notification later.