Two weeks Microsoft released Windows Server 2016 and with that the first version of Nano Server. Now in this blog post I want to quickly show you how you can deploy Nano Server in Virtual Machines or on Physical Servers. Nano Server is following the zero-footprint model, so know roles and features as well as no drivers are included by default. With this you always have to create a new Nano Server Image and include the physical drivers or the virtual machine drivers and of course the roles and features.
To create new Nano Server Images you have basically two options, you can choose between the Nano Server Image Generator PowerShell module or the Nano Server Image Builder UI tool. With both you can create VHD, VHDX and WIM files which can be used to deploy Nano Server.
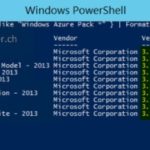
Create a Nano Server Image using the Nano Server Image Generator PowerShell module
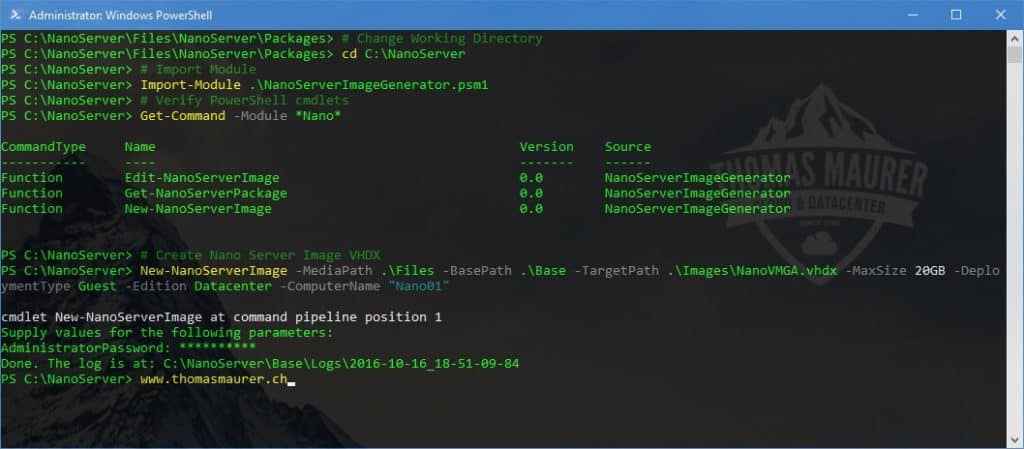
This is the built in PowerShell module which can be found on the Windows Server 2016 media in the Nano Server folder.
# Change Working Directory
cd C:\NanoServer

# Import Module
Import-Module .\NanoServerImageGenerator.psm1

# Create Nano Server Image VHDX
New-NanoServerImage -MediaPath .\Files -BasePath .\Base -TargetPath .\Images\NanoVMGA.vhdx -MaxSize 20GB -DeploymentType Guest -Edition Datacenter -ComputerName "Nano01"
- MediaPath – The location with the Windows Server 2016 files
- BasePath – Temporary folder to mount the WIM file
- TargetPath – Where the new Image file gets stored. You can create a .wim, .vhd or .vhdx file
- .vhd creates a Image for a Generation 1 VM (BIOS boot)
- .vhdx create a Image for a Generation 2 VM (UEFI boot)
- DeploymentType allows you to choose between Guest and Host
- Guest creates a Virtual Machine
- Host creates a Physical Image
- Edition can be Standard or Datacenter
- ComputerName adds the server name of the Nano Server
- MaxSize changes the Partition size, if you are not using this parameter it will create a default partition of 4GB
If you want to know more about the option to Create a Nano Server Image using PowerShell blog post
Create a Nano Server Image using the Nano Server Image Builder
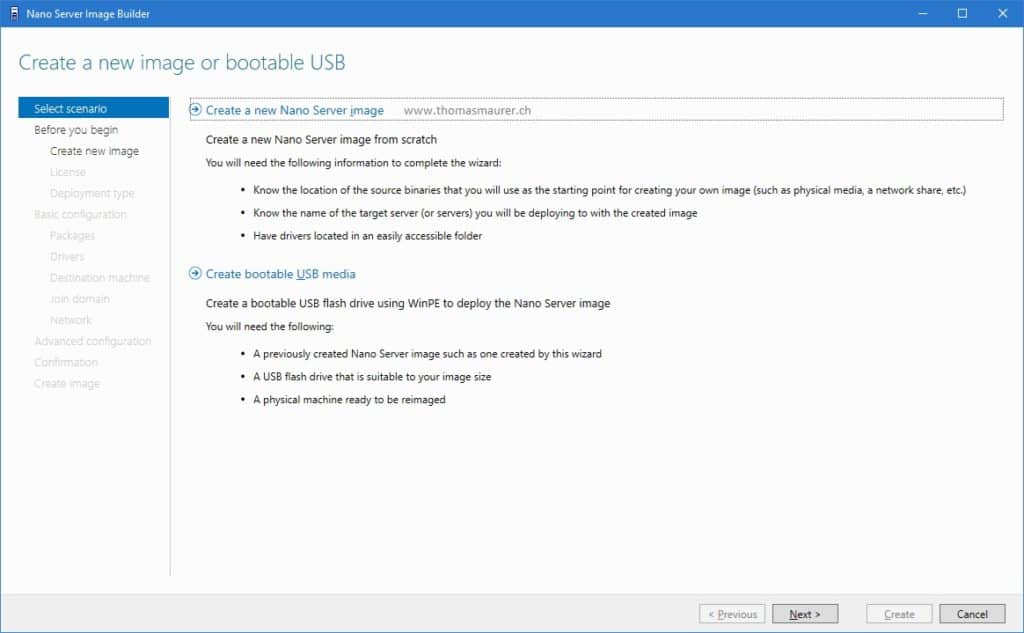
The Nano Server Image Builder can help you with the following tasks:
- Graphical UI to create Nano Server Images
- Adding drivers
- Choose Windows Server Edition
- Adding roles and features
- Adding drivers
- Adding updates
- Configuration of Network Settings
- Configuration of Domain settings
- Set Remoting Options
- Create an ISO file to boot from DVD or BMC (remote connection like HP ILO)
First download and install the Windows Assessment and Deployment Kit (ADK) and the Nano Server Image Builder.
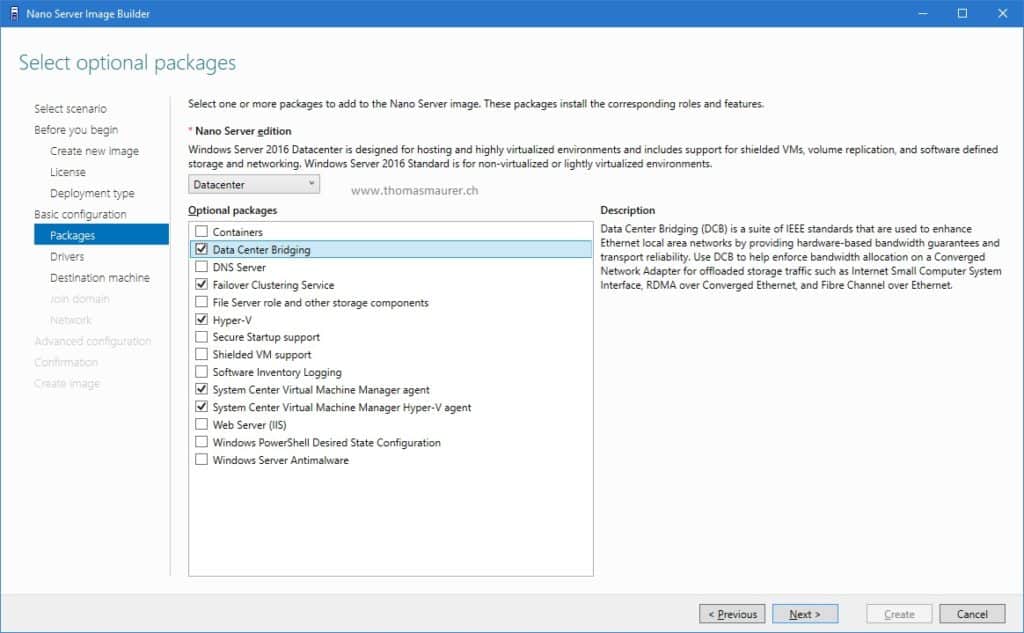
Set more options, choose packages (roles and feature), drivers and more.
If you want to know more about this deployment option check out my blog post about How to create a Nano Server Image using the Nano Server Image Builder.
Tags: Hyper-V, Microsoft, Nano Server, Nano Server Image Builder, Nano Server Image Generator, Packages, PowerShell, Windows, Windows Server, Windows Server 2016 Last modified: June 26, 2019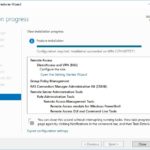


Hallo, after setting up the nano server how do you access it remotely? Kindly assist with the procedure.