Windows Server has IIS build in, which also offers an FTP server option. The File Transfer Protocol (FTP) is still a very popular protocol that allows users to simply upload and download files. Of course today you have more modern options, however, it is still very often used and a lot of legacy applications still support it. In this blog post, I wanna quickly go rough how you can install the FTP Server on Windows Server. I do this on a brand new Windows Server 2019 operating system, however, it didn’t really change since early Windows Server versions.
Install FTP Server Feature on Windows Server
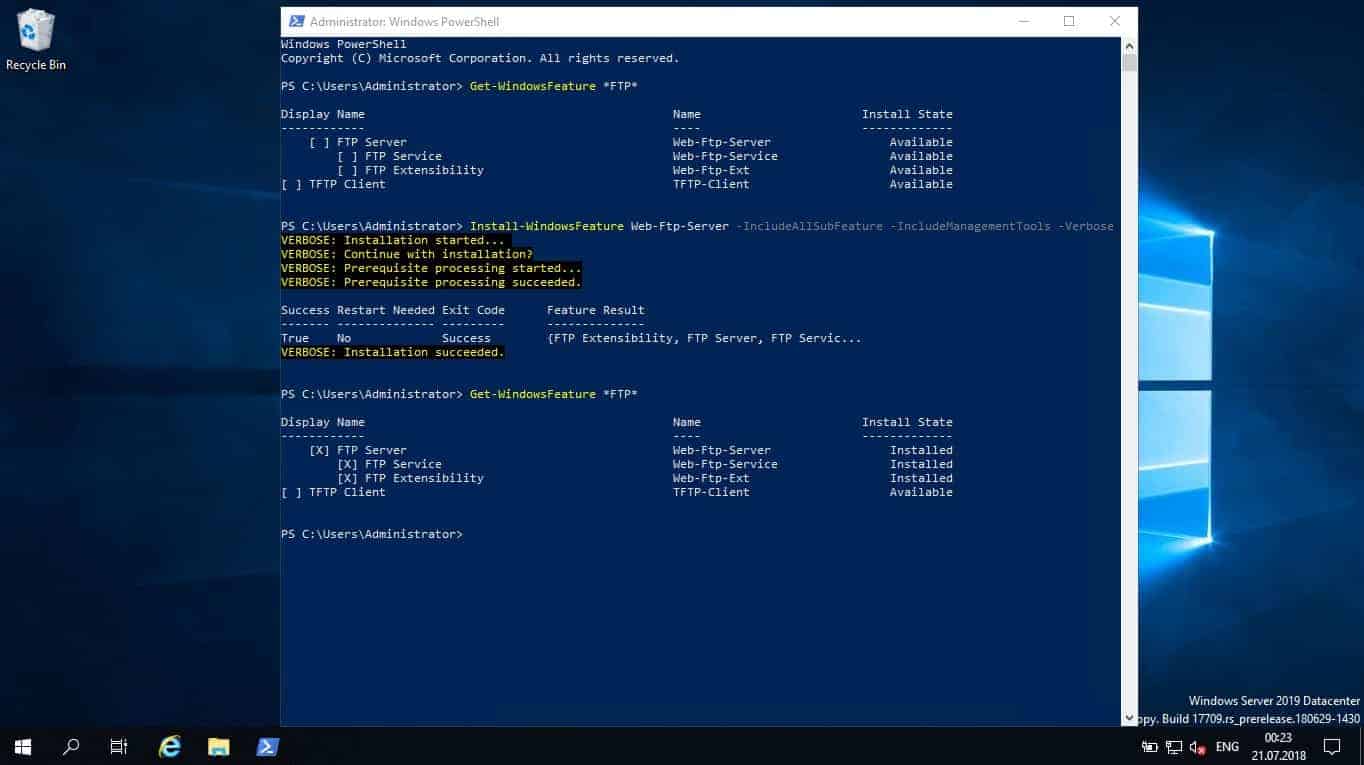
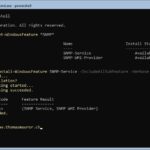
First, you will need to install the FTP feature. I usually simply do that using PowerShell to install the FTP Server feature in Windows Server. You can also do that using the Server Manager. However, if you want to use PowerShell, you can use the following command:
Install-WindowsFeature Web-Ftp-Server -IncludeAllSubFeature -IncludeManagementTools -Verbose
Configure FTP Server on Windows Server

Now you will need to configure the FTP Server Site on Windows Server. Open the Internet Information Services (IIS) Manager, right click on the server name and click on Add FTP Site…
This will start a new FTP Site wizard, which helps you to configure a new FTP site.
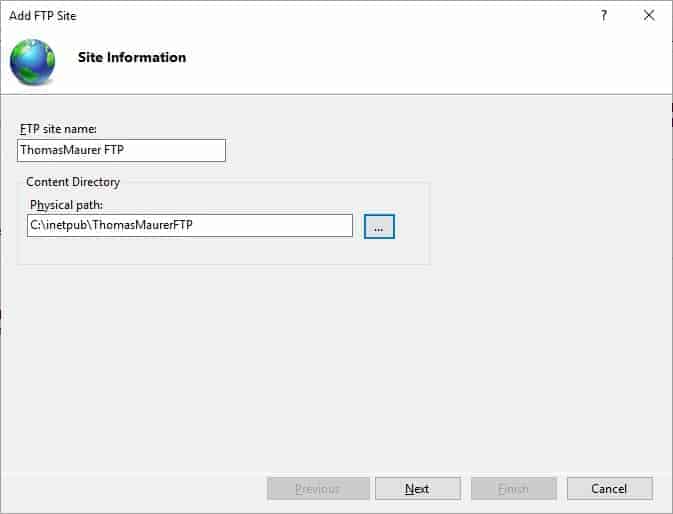
First enter the FTP site information like name and the path to the content.
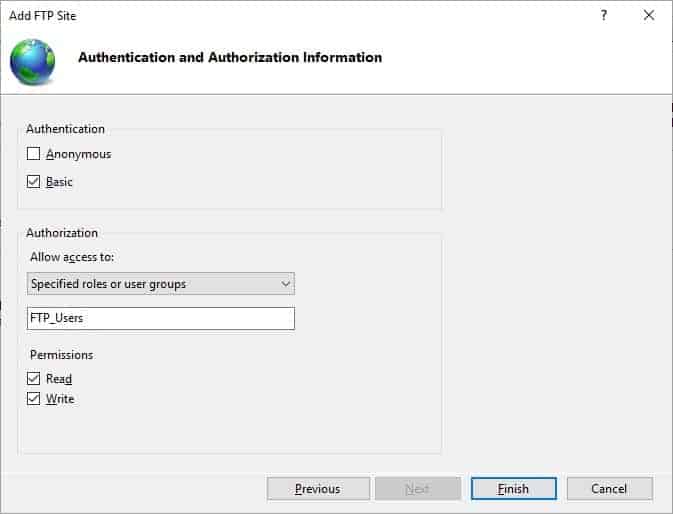
Next, you configure Authentication and Authorization information settings. Per default you will have anonymous authentication active, if it is not just a read-only FTP site, I would recommend that you configure only access to a specific group. You can create a group in computer management or you can use PowerShell to create a new Windows user group. Make sure that this user group has access to the folder path you select for the FTP files.
Next configure the port binding and SSL settings.
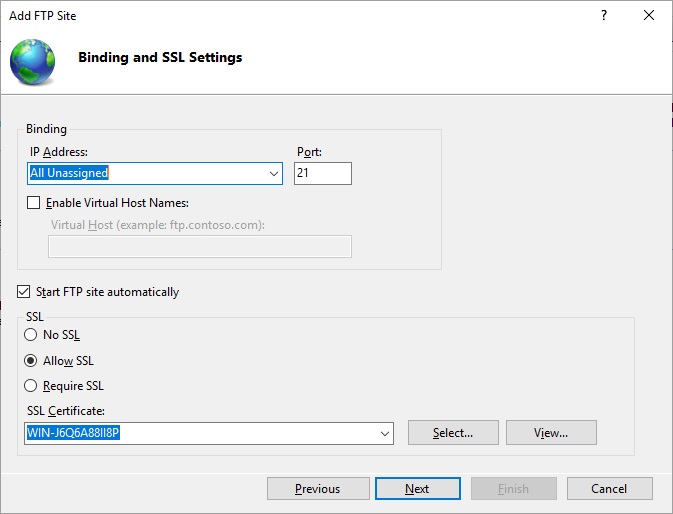
After that you will need to open the ports in the firewall, in my case this is port 21.
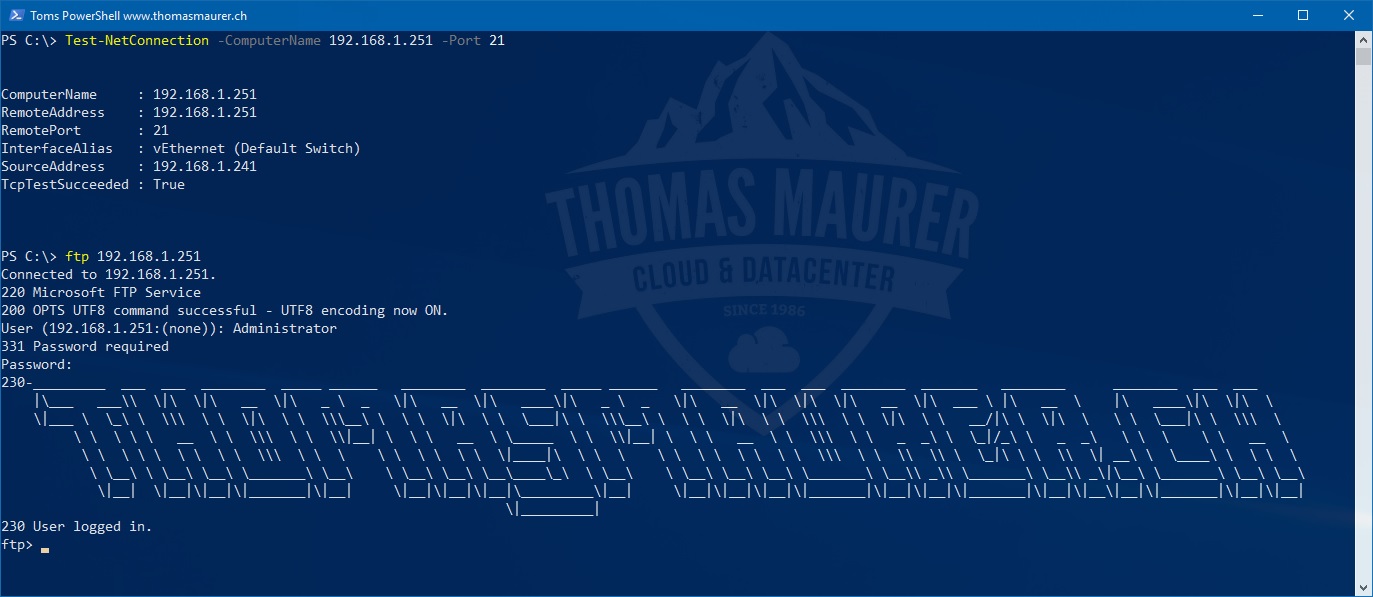
You can start using your FTP server now, if you want to test it you can use the following commands:
# Test FTP Network Port

Test-NetConnection -ComputerName serveraddress -Port 21

# Test FTP Access

ftp 192.168.1.251
I hope this post was helpful. By the way, you can also use PowerShell to upload and download files from a FTP Server.
Tags: File Transfer Protocol, FTP, FTP on Windows Server, FTP Server, Install FTP, Microsoft, PowerShell, Windows Server, Windows Server 2012, Windows Server 2012 R2, Windows Server 2016, Windows Server 2019 Last modified: May 27, 2019


Seems good old ftp never dies. Nice article. Do you have any experience with Win2019 and http/2? Seems http/2 boosts performance of .Net apps pretty much. I only tested it on a small app.
Very clean install and straight forward like other versions. FTP, FTPS however still perplexing why Microsoft still does not have sFTP as a server feature.
How do you copy and migrate an ftp site complete with user credentials from a 2008 R2 server to a new Windows 2019 server with FTP role installed on it?
i can do sites with web deploy but not ftp sites?
thanks